Well...I got critiqued for having a stock image as my background, so I decided to create my own background, a star field nebula for my the blog. Simple. So I uploaded a series of frame by frame shot of my background WIP so you can see how I did it. Enjoy!
 |
| Start with a black background |
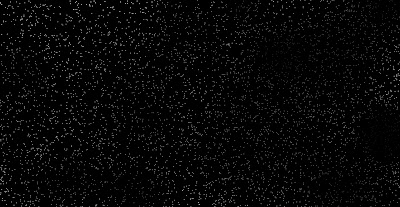 |
Use a soft brush on 1% opacity in dissolve setting. Set fade brush on to control amount of dissolve.
|
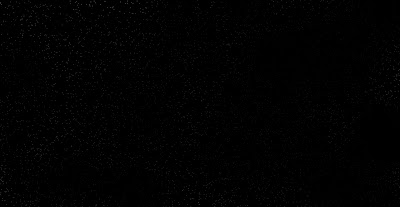 |
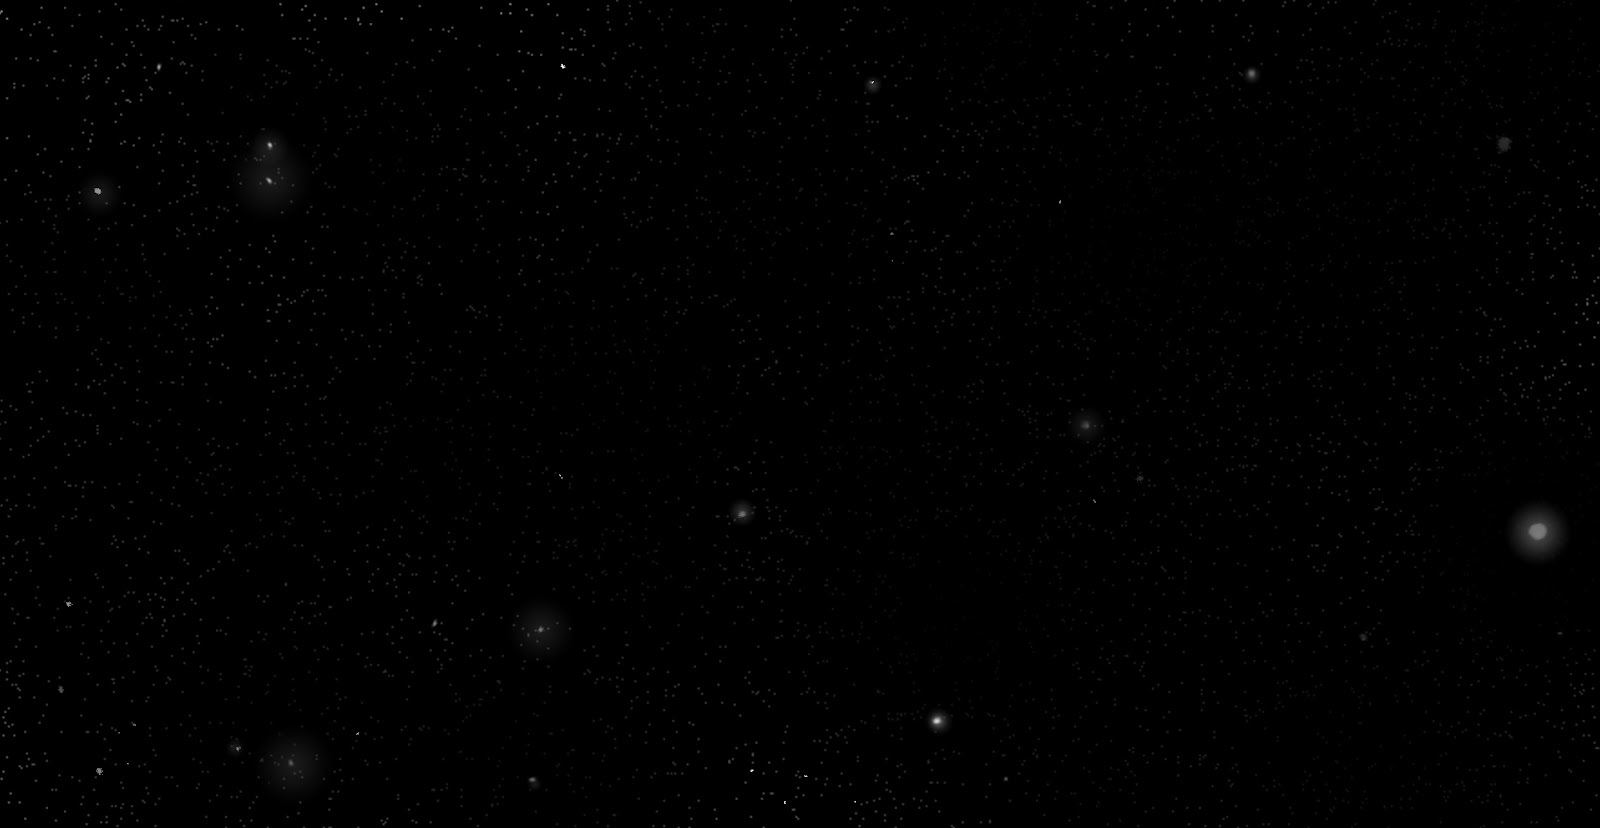
| Turn down layer opacity and erase random areas of the star field to make different patches of star recede or pop. |
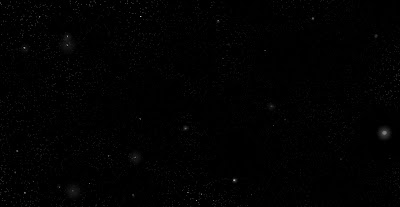 |
| Add in larger stars for extra depth and parallax. Use the gradient tool in radial mode to create the halos around the closer stars. |
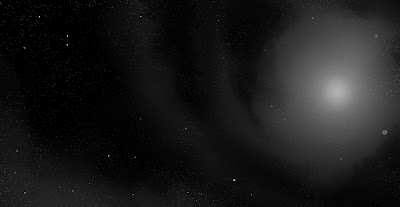 |
| I did a lot of work here, but I basically took a soft brush and covered certain areas with white at different opacity. Make sure the focal point has the most white for greatest contrast. Use smudge tool to move the white blotches around. I then used a crunchy brush downloaded from conceptart.org to erase the edges of the central blob to make the gaseous nebula effect. |
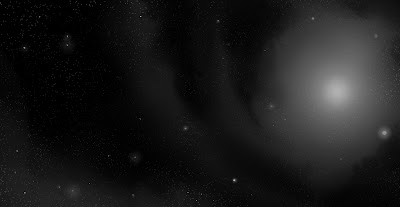 |
| I took the gradient tool and set the mode to vivid light to make highlights brighter and darker regions recede. The gradient is dropped onto the center of the nebula where star clusters are closest. |
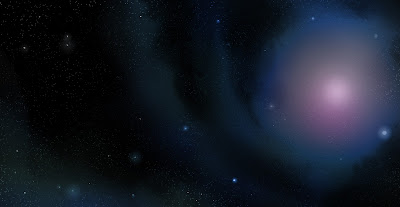 |
| Change file format to RGB. Create a layer and set blending mode to color. It has more saturated, fuller colors, than the overlay mode. I used the gradient tool on normal blending mode to spot the colors. Don't for get to hit some of the stars as well because stars come in different colors based on size, fuel, gravity, and other factors. |
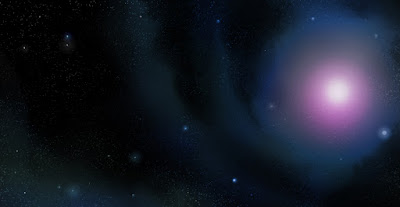 |
| Set the gradient tool on vivid light again and hit the center with a saturated magenta. Now the night sky is really shining! |
I hope you guys liked the quick demo, if you have any questions, please let me know. Thanks!


No comments:
Post a Comment